Hanging Pictures: 5 Creative Ways to Hang Pictures at Home

Hanging Pictures: 5 Creative Ways to
Hang Pictures at Home

Are your walls looking a little bland? Brighten up your home and add personality to every room with the art of hanging pictures. Not only does it enhance the aesthetic appeal of your space, but it also allows you to showcase your unique style and memories. In this guide, we’ll explore creative ideas, essential techniques and smart tools that will transform your hanging process.

Creative ideas for hanging pictures on the wall

5 Creative Hanging Ideas

1. Layered Gallery Wall

Create depth by layering images, with larger frames at the back and smaller ones overlapping at the front. This dynamic arrangement adds visual interest and a sense of modern sophistication.

Personal family photos as a gallery wall above the console table

2. Floating Shelf Display

Use floating shelves to display your pictures. Not only does this make it easy to change artwork, but it also adds a three-dimensional aspect to your wall decoration.

Floating shelf with framed pictures on the wall as creative ideas for hanging pictures
another floating shelf with framed pictures on the wall as a creative idea for hanging pictures in the dining room

3. Grid pattern Arrangement

Perfect for a clean and uncluttered look, hanging pictures in a grid pattern can create a minimalist yet striking look. Use identical frames for a cohesive effect.

Screening perfect for a clean, uncluttered look when hanging pictures

4. Picture Moulding

A picture strip offers the flexibility to display a range of frame sizes and orientations. It’s also perfect for incorporating decorative items such as small plants or books to complement the artwork.

The hanging of the picture rails offers the flexibility to present a range of frame sizes and orientations

5. Corner Wraps

Make the most of corners by wrapping your images around them. This unconventional method can make a striking statement and utilise often overlooked spaces.

Corner wraps Ideas for hanging pictures by making the most of corners by wrapping your pictures around them

Hanging Techniques and Tools

Mastering the art of hanging begins with the right tools and techniques. Here are some of the essentials:

Tools: You’ll need a tape measure, a spirit level, a pencil, wall anchors, a hammer or drill and possibly a stud finder.

Techniques:

  • Measure before you hang: Always measure your space and include the centre of the wall for balance.
  • Use a spirit level: To ensure your pictures are not crooked, use a spirit level when hanging.
  • Use wall anchors: For heavier frames, use wall anchors to secure your artwork and prevent damage.
Woman hanging pictures on the wall to create a gallery wall
PRACTICAL ACCESSORIES FOR HANGING PICTURES ON THE WALL

Common mistakes to avoid

  • Hanging art too high – Artwork should be hung at eye level; the centre of your pictures should be about 57 inches from the floor.
  • Ignoring the wall material – Different wall materials require different fasteners. Make sure you use the right type for your wall, whether it’s drywall, plaster or concrete.
  • Overcrowding your space – Give your artwork room to breathe. Overcrowding can make your space feel cluttered and disorganised.

Modern technology for hanging pictures

Use technology to streamline your hanging process:

  • Apps: Use apps like Photo Measures or ArtPlacer to plan your layout and preview how your pictures will look on the wall before you start hammering.
  • Laser levels: These tools can project straight lines on any surface, making it easier to get your pictures perfectly aligned.
  • Digital templates: KunstLoft offers a free online 3-step trial hanging application that allows you to test and try how your paintings will look in your chosen hanging area.

Where to find tools for hanging pictures

When it comes to finding the right tools for hanging your pictures, check out KunstLoft’s range of hanging kits and hooks. These kits are specifically designed for paintings and pictures and ensure that you have everything you need in one package. KunstLoft’s hooks are sturdy and can support a range of weights, making them ideal for both lightweight prints and heavier framed artworks. Available online, these tools can be conveniently delivered to your doorstep, making your DIY projects easier.

Start decorating with hanging pictures

With these creative ideas, helpful techniques and modern tools, hanging pictures is not just about decorating a wall – it’s about curating an environment that reflects your personality and enhances your living space. Whether you’re an experienced decorator or just starting out, take the time to consider your approach, avoid common pitfalls and embrace the innovations that are making design accessible to everyone. Happy hanging!

Frequently Asked Questions

The best tools for hanging pictures are a tape measure, a spirit level, a hammer, a drill, wall anchors and hooks or wires for hanging pictures. For heavier artwork, consider using a stud finder to locate studs in the wall for extra support. These tools will help ensure that your pictures hang securely and evenly.

Choose a place where the picture complements the decor and furniture in the room. The centre of the picture should ideally be at eye level, which is approximately 57 inches from the floor. Avoid direct sunlight or areas prone to moisture as this can damage your artwork over time.

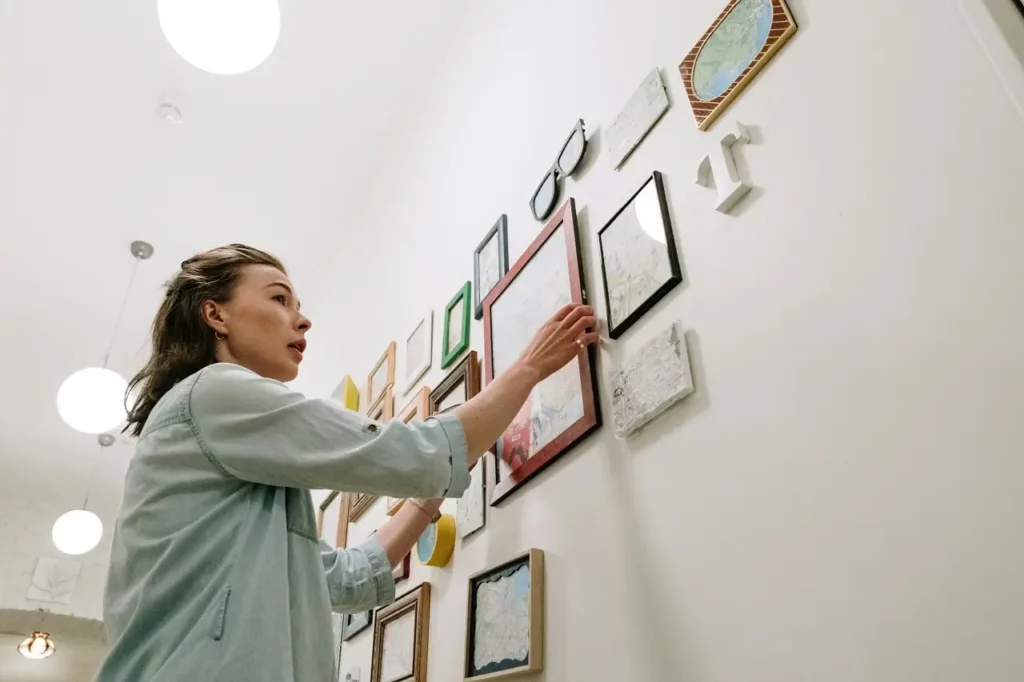
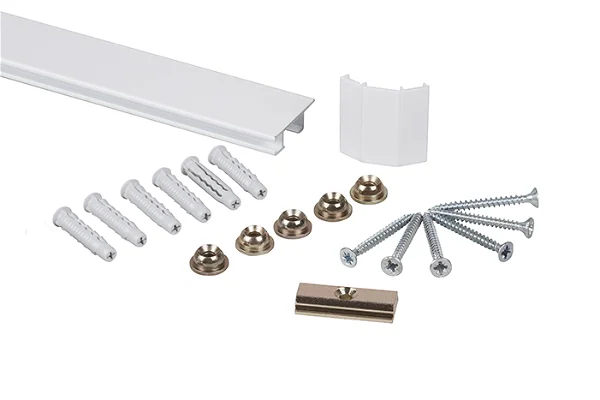
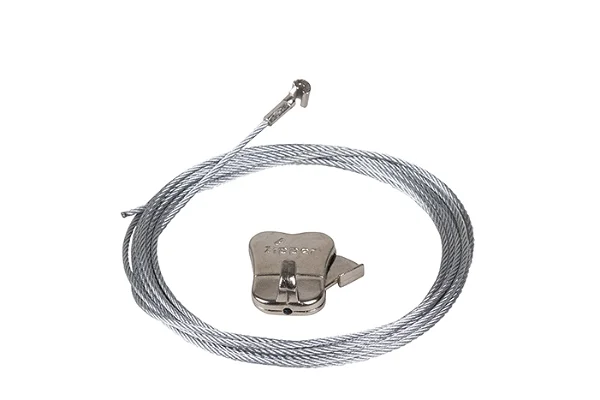
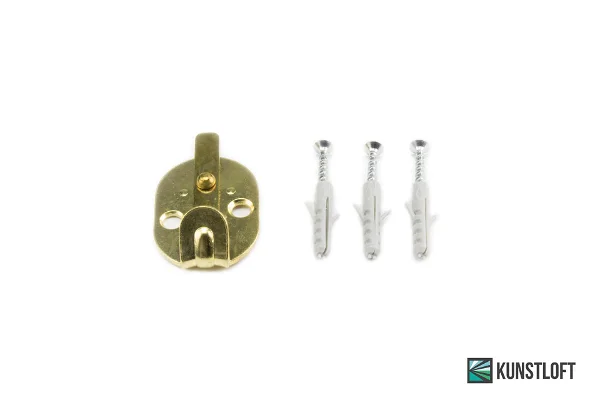
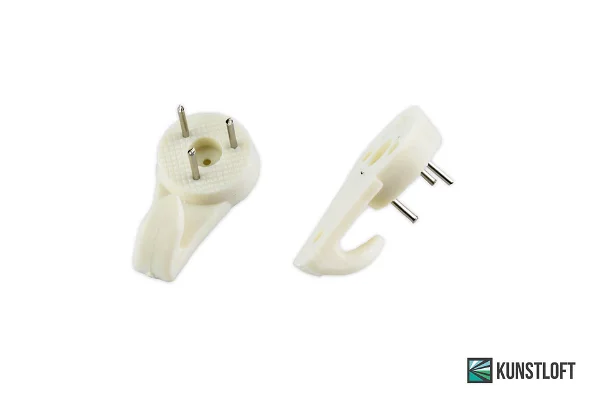
Yes, you can hang pictures on most wall surfaces, including drywall, plaster and even brick or concrete. However, the type of fastener you use will vary depending on the wall material. For drywall, lightweight pictures can be hung with tape, while heavier pieces may require anchors and screws. For harder surfaces, such as brick or concrete, use masonry nails or screws.

Picture credits: @KunstLoft @Anthony Nguyen – Pexels.com @Nicolas Lesueur – Pexels.com @Nealette Monique – Pexels.com @ z f – Pexels.com @Lokman Sevim – Pexels.com @Alex Tyson – Pexels.com @Medhat Ayad – Pexels.com @cottonbro studio – Pexels.com @Art Placer @Photo Measures